
Today's post is about a challenge, recycling and a tutorial ;-)
TOMIC's Challenge #12 is about *recycling*... make something new out of something old ;-)
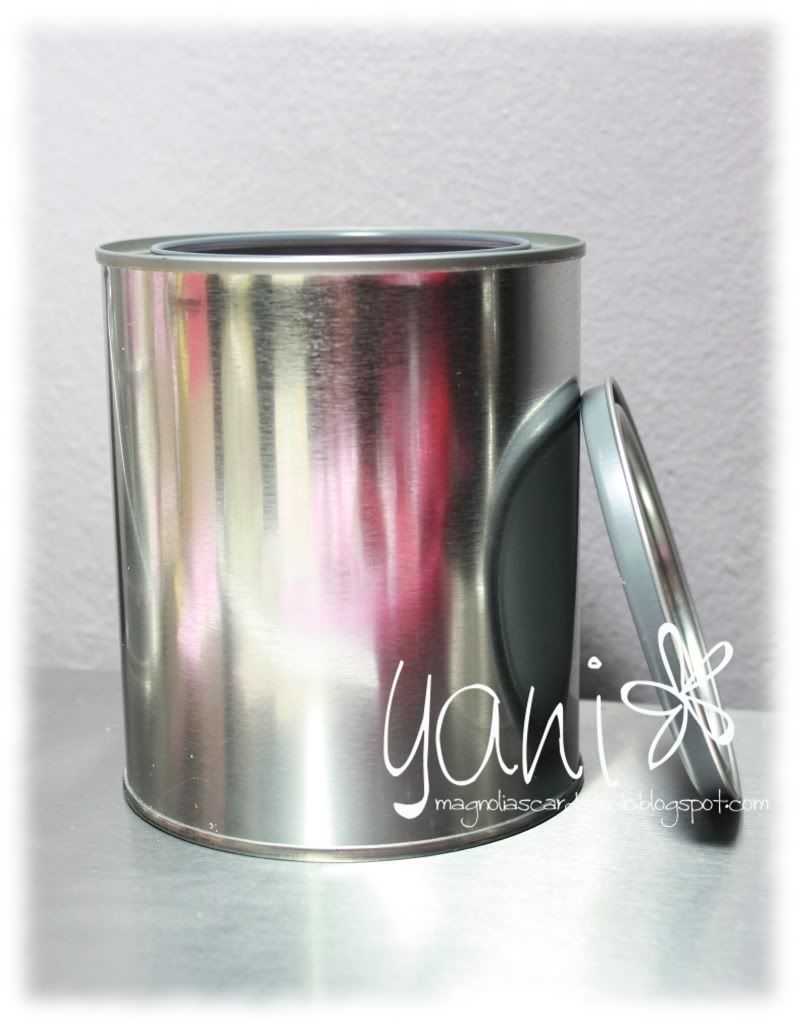
So for this challenge I used a *paint can*...
which I decorated with papers, trims & ribbons, and with a Tilda of course ;-)
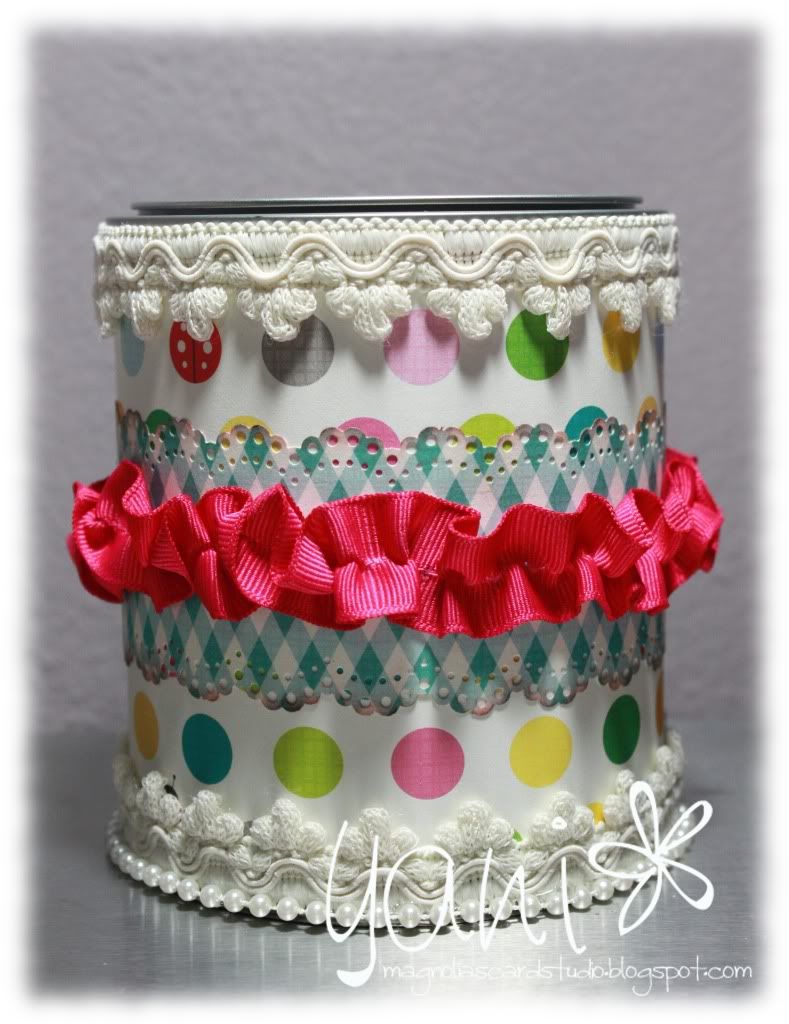
and turned it into this:

And if you ever wondered how to make one of these, then here's how:
*Please excuse the quality of my pics, as they were taken @ night*
First of all, here's what you'll need:

- a paint can (clean and empty of course!)
- patterned paper (I used two 12" x 12" pieces of paper, but you can use as many as you want)
- ruler
- paper trimmer
- circle cutter
- border punch
- sticky strips, double sided tape or any strong glue
- ribbons and/or trims
- a Tilda (of course! LOL)
- inks to color her (I used Distress Inks)
- flowers and any other embellishment that you want
- 3D dots (dimensionals)
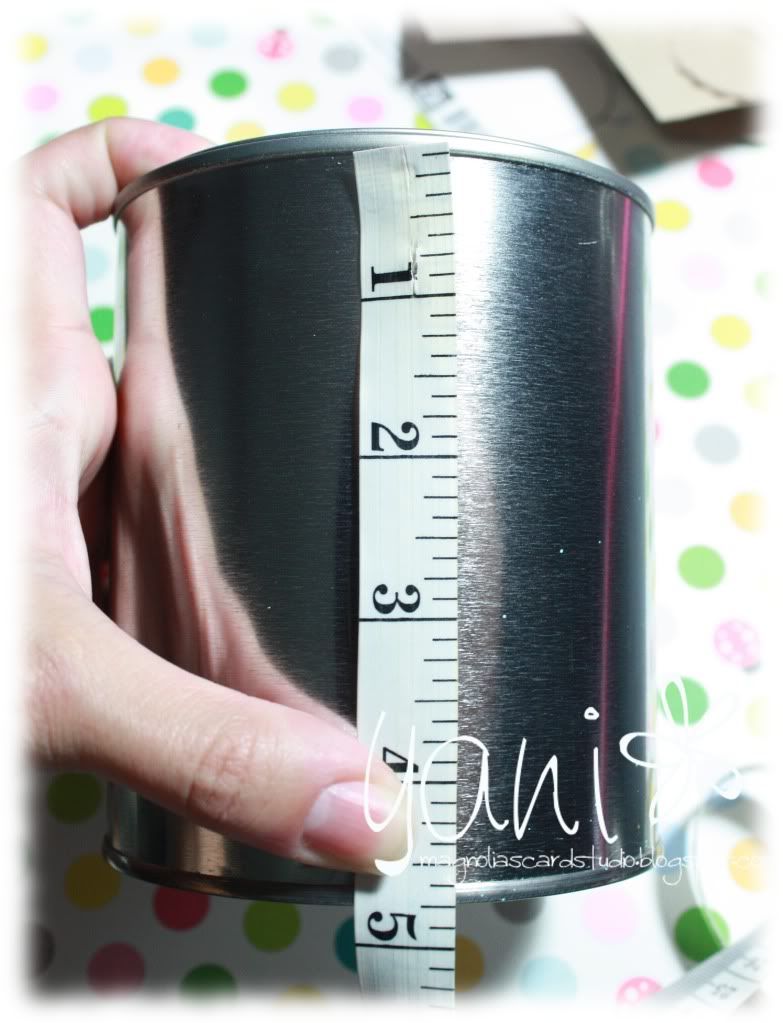
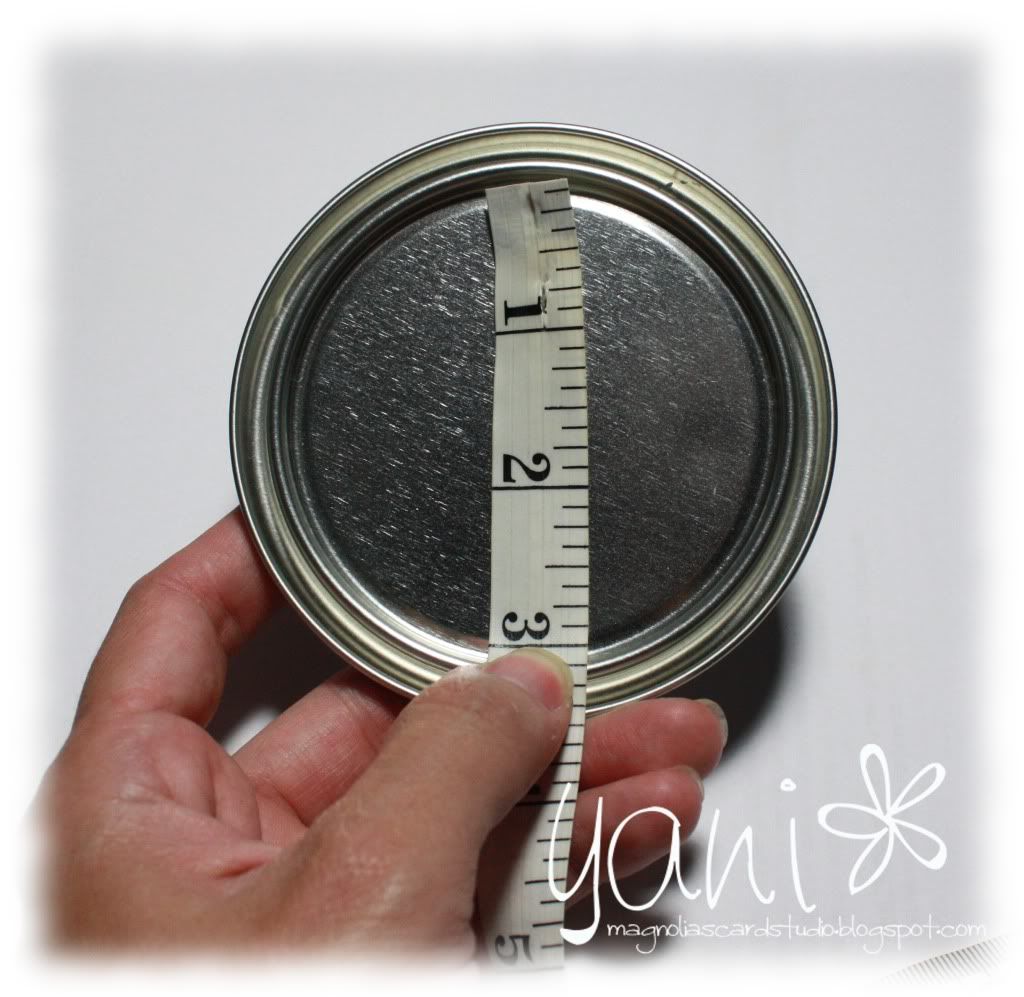
Step #1: Measure the paint can from top to bottom (X"-wide) and using your paper trimmer, cut a piece of patterned paper of that size, leaving its length at 12" (X" x 12"). (Eg. since I used a 12" x 12" patterned paper and my paint can measured 8 5/8" wide, I cut my paper 8 5/8" x 12".) (If your paint can is bigger (length) than 12", add more paper to cover up that empty space.)
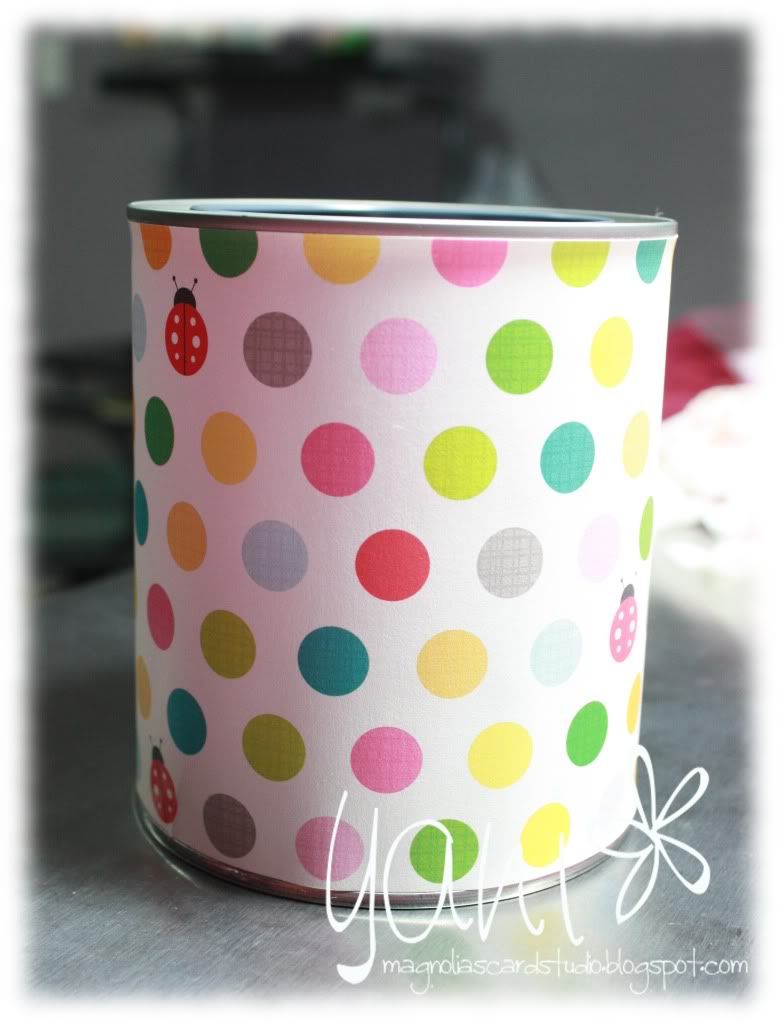
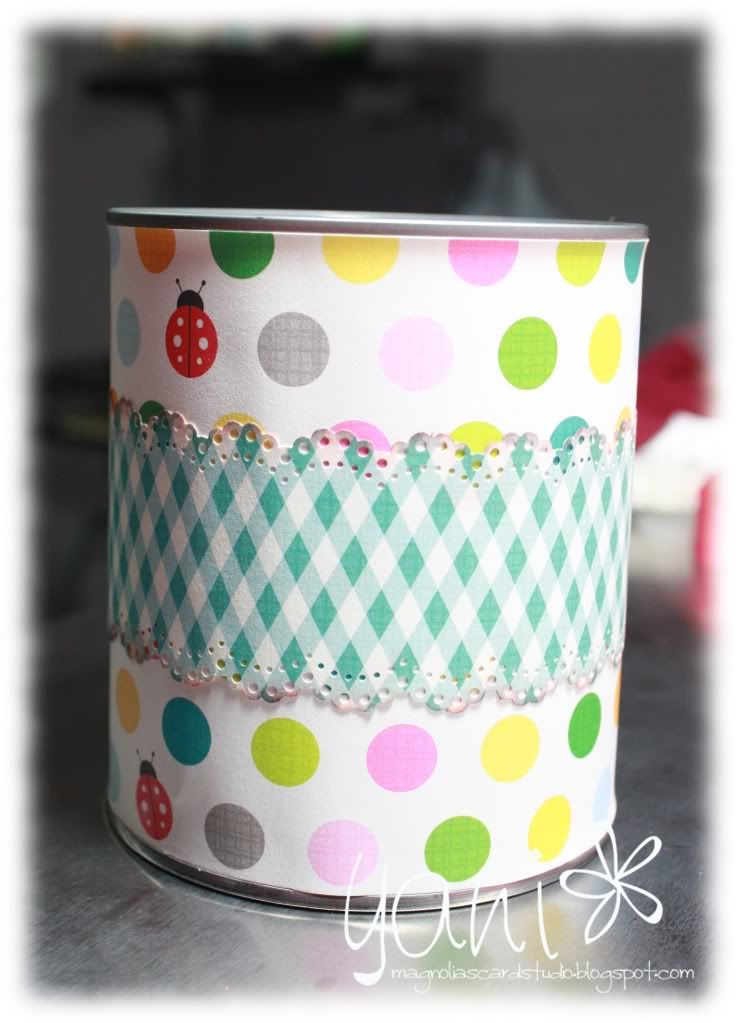
Using the sticky strips, adhere that piece of paper to your can. It should look like this:
Step #2: Using your second piece of patterned paper, cut it at 2" x 12". Using the border punch, decorate its sides. I also distressed the edges ;-)
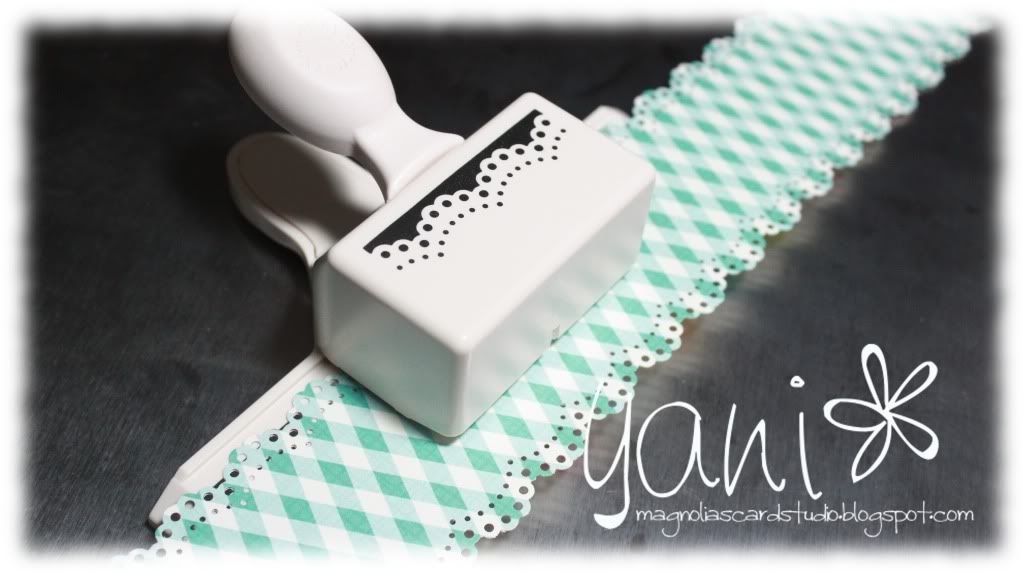
Now adhere it to the can, making sure to center it:
Step #3: With you trims and ribbons and using a strong adhesive, decorate as desired. I added a 3D look to the pink ribbon by ruffling it ;-)
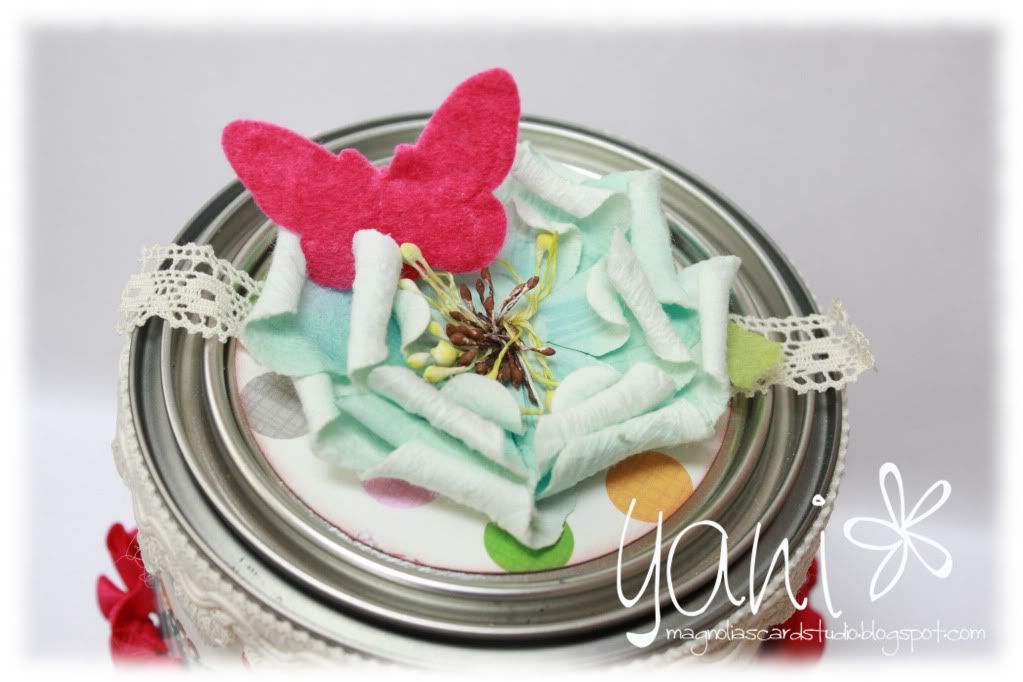
Step #4: Now it's time to decorate the lid :-) Measure the lid from top to bottom--that would be the total measurement around it (radius) ;-)
And using your circle cutter and a piece of patterned paper, cut a circle of about that size. Then adhere it to the lid with sticky strips or a strong glue.
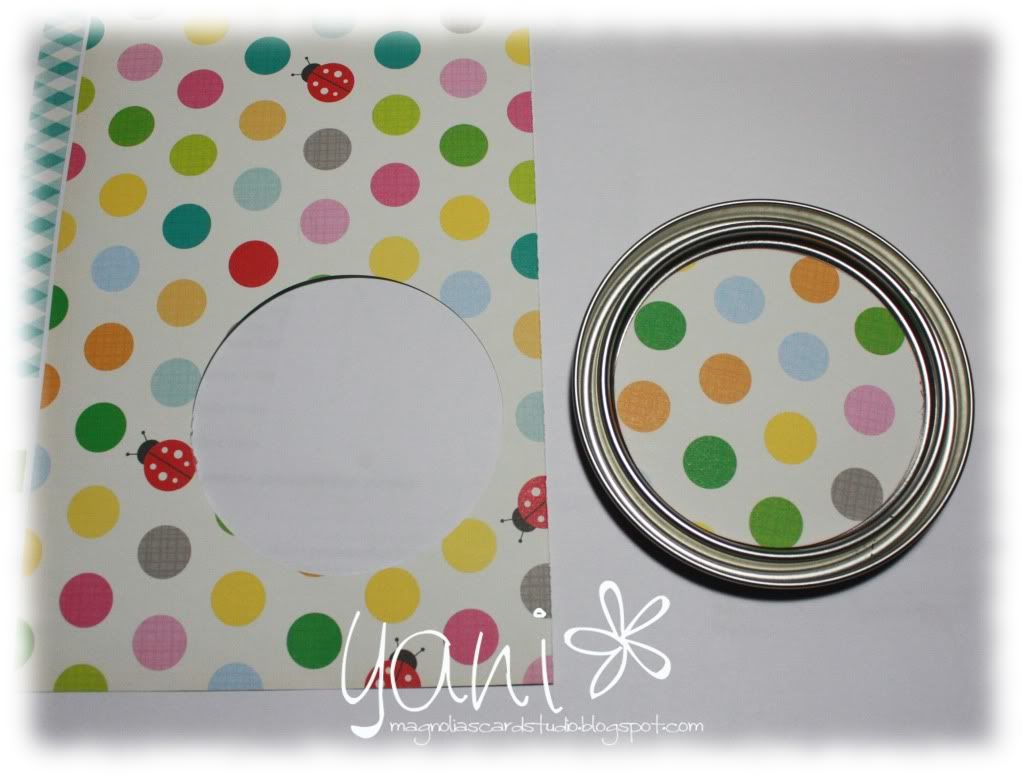
Decorate!
Step #5: Finish your paint can by coloring a Tilda and adding it to the finished can.

And that's it!! :-)
I hope that you have liked my tutorial... and if you have any questions, feel free to email me! :-D
Thanks for stopping by!!


5 comments:
Beautiful Yani! LOL! nice d/p, colors and embellish. TFS, hugs, Zulma
Wow what a beautiful creation.
hugs Janny
this is very nice yanitza
gr sandra
Fantastic, it looks gorgeous, thanks for the tutorial, I'd like to try this soon. Teresa xx
Wonderful project, great tutorial. Love the papers and the coloring too!
hugs, Frances.
Post a Comment